Printmaking
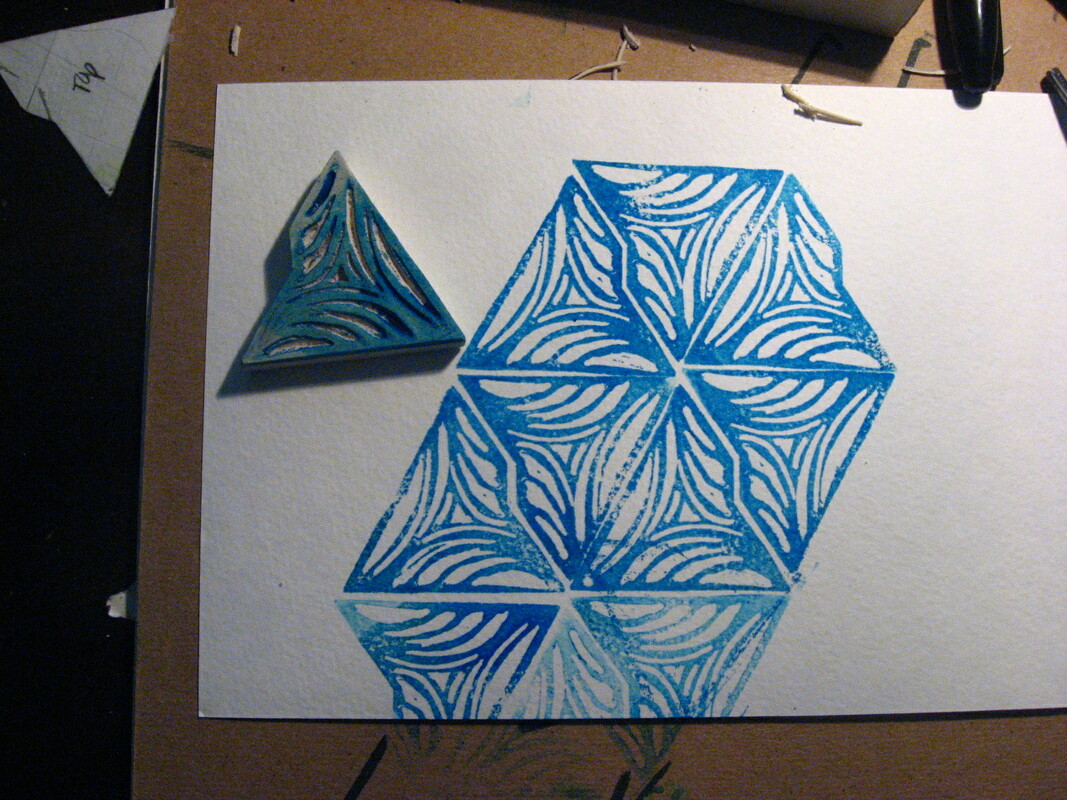
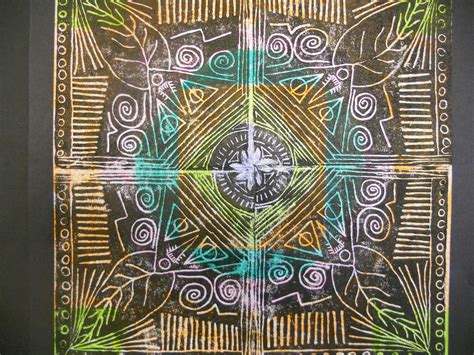
EASY Printmaking - Styrofoam print
I suggest starting with Gelli prints to get the basics of stamping logic. Styrofoam is great material to get the basics of printmaking down. Pencil lines push down the styrofoam whereas Linocut will cut it away. Scribbled lines on the styrofoam replicate the textured areas of partially cut away linoleum. Advance and try to create a multi-color print. Cut away the background, print it. Then print the foreground on the paper making the image a couple of colors.
|
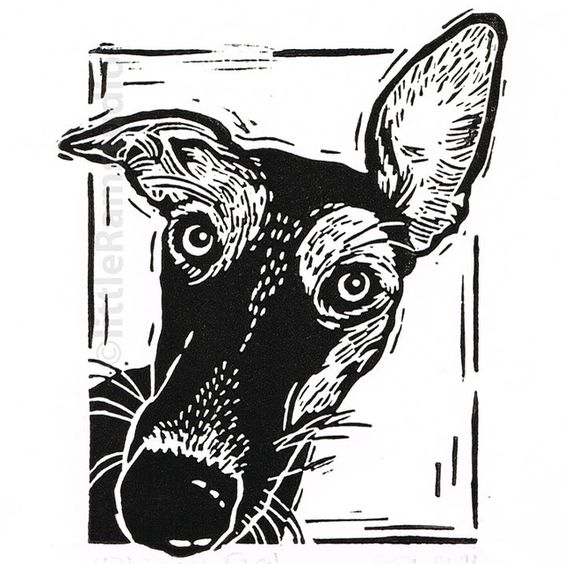
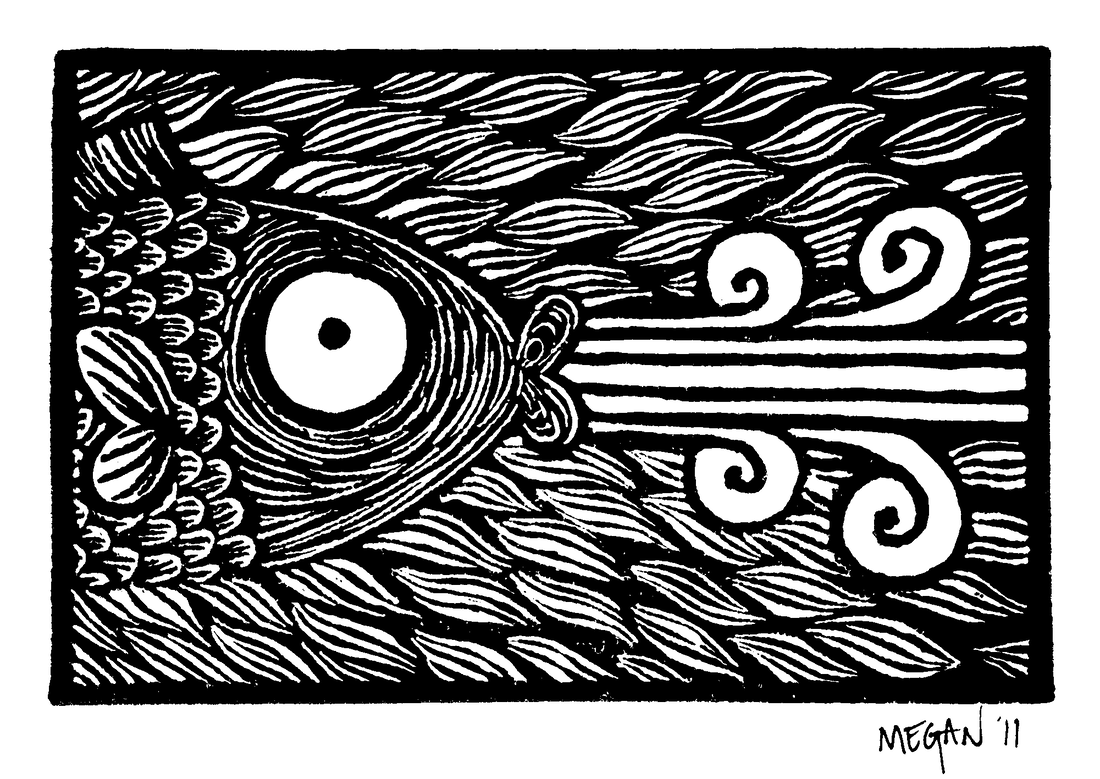
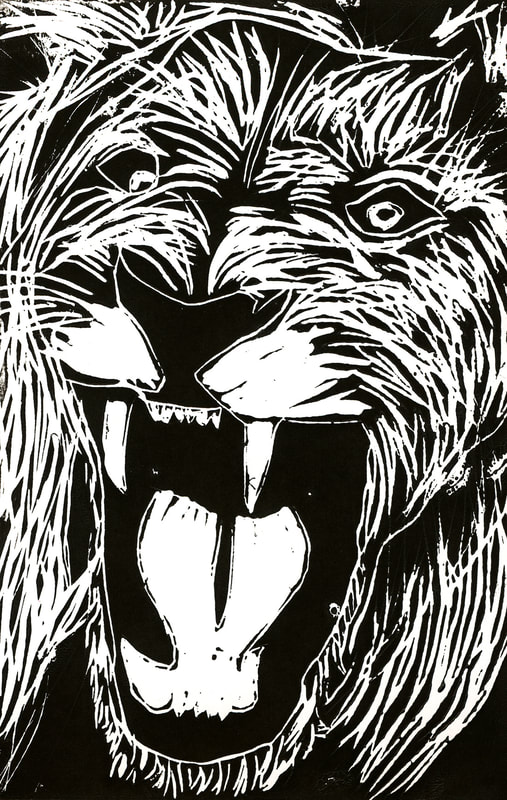
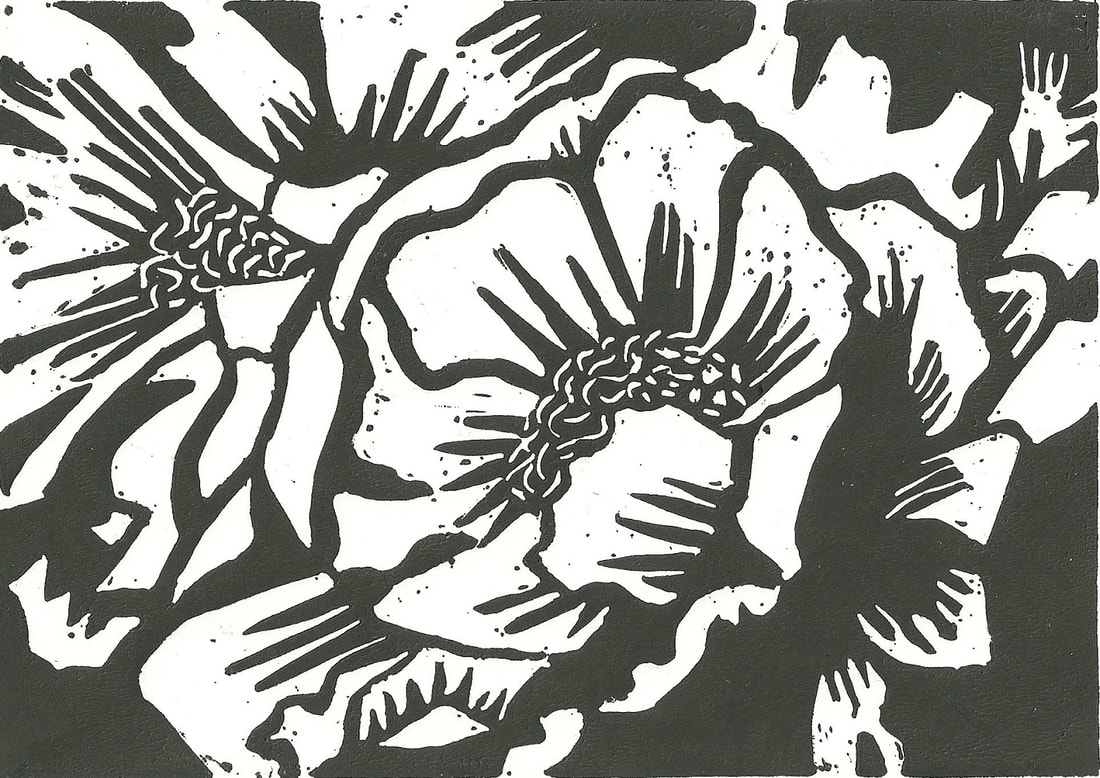
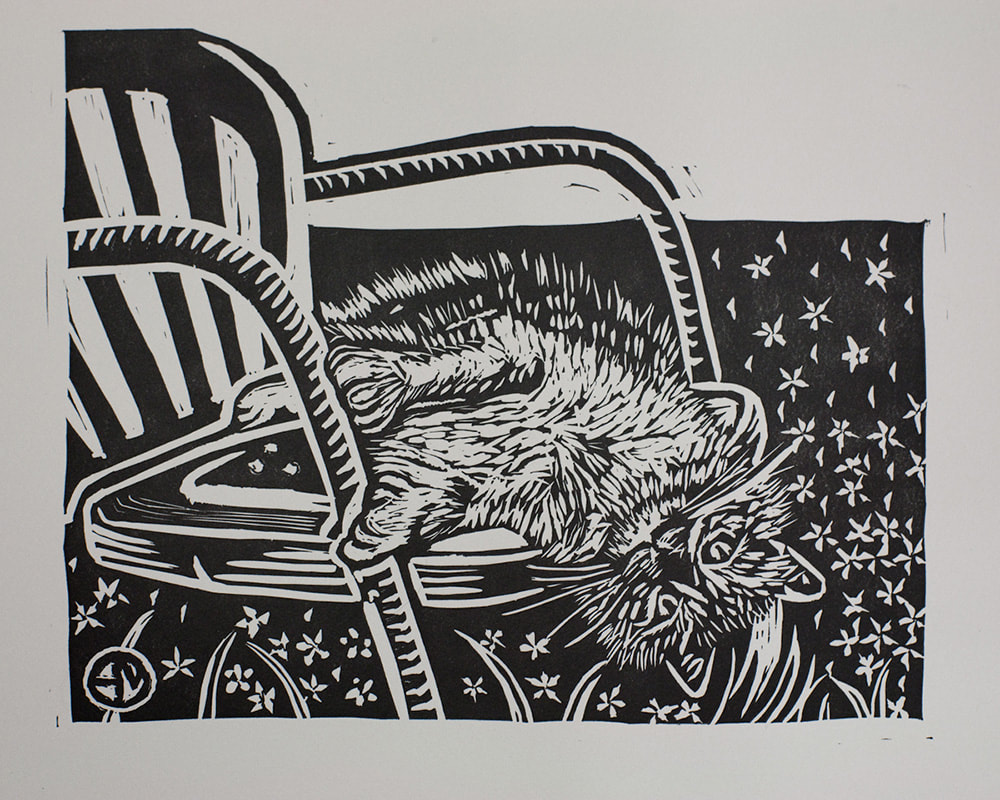
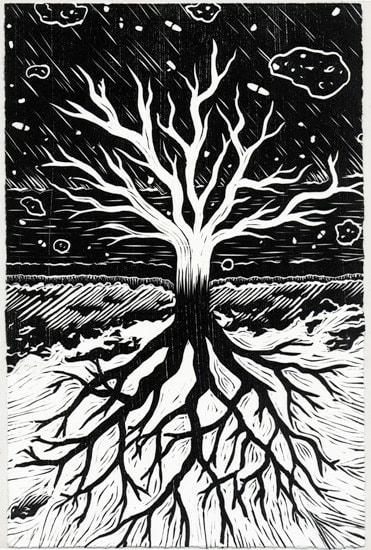
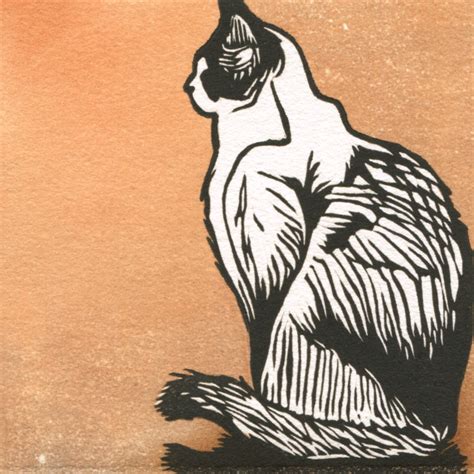
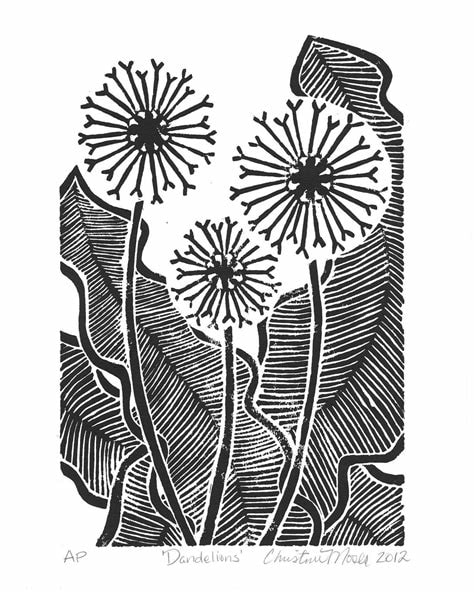
Intermediate Linocut
Linocut--Cut linoleum. Surface left uncut creates the stamp. Pencil transfer your image to the linoleum. Go over your pencil lines with a black Sharpie. Vary the width of your lines beyond the point of the pen. Be sure to warm up first with styrofoam. Begin by making a single color stamp. Then try reduction printmaking second video above.
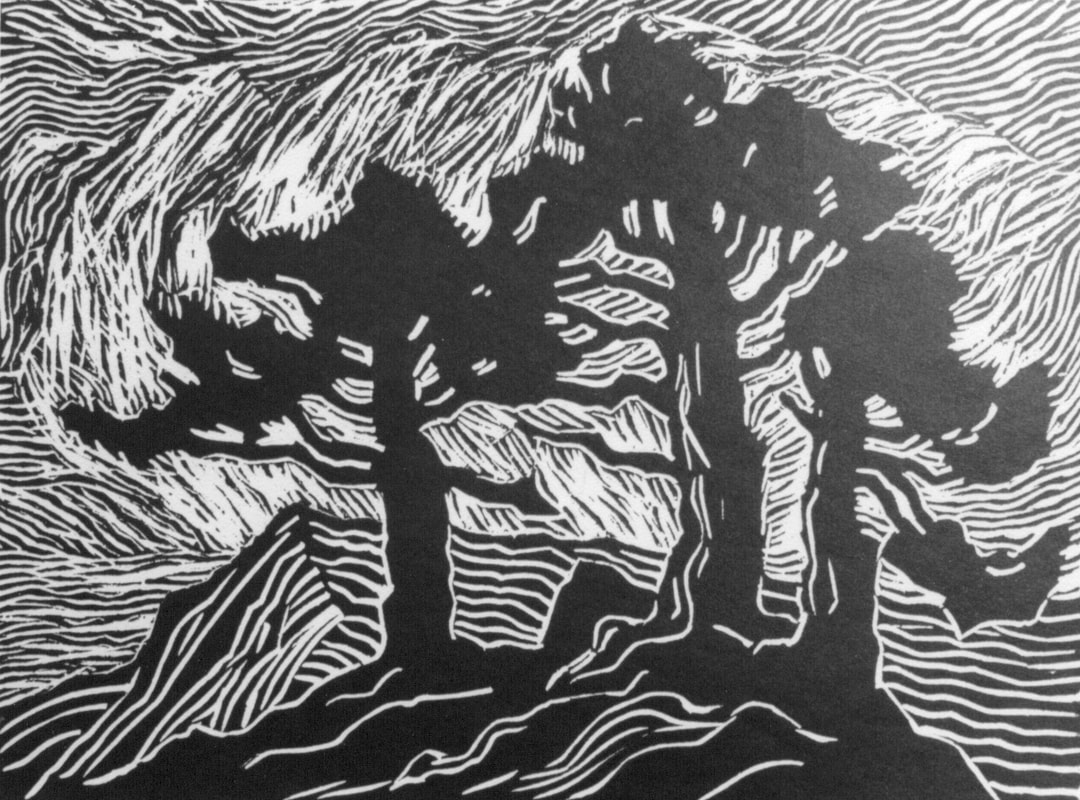
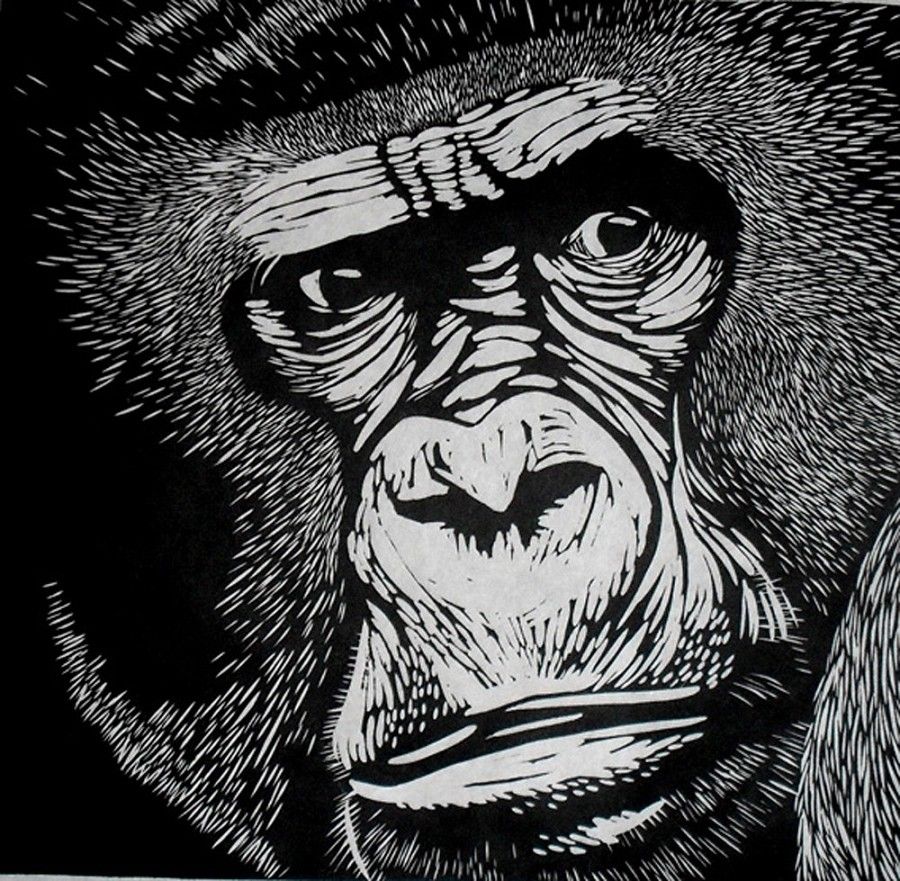
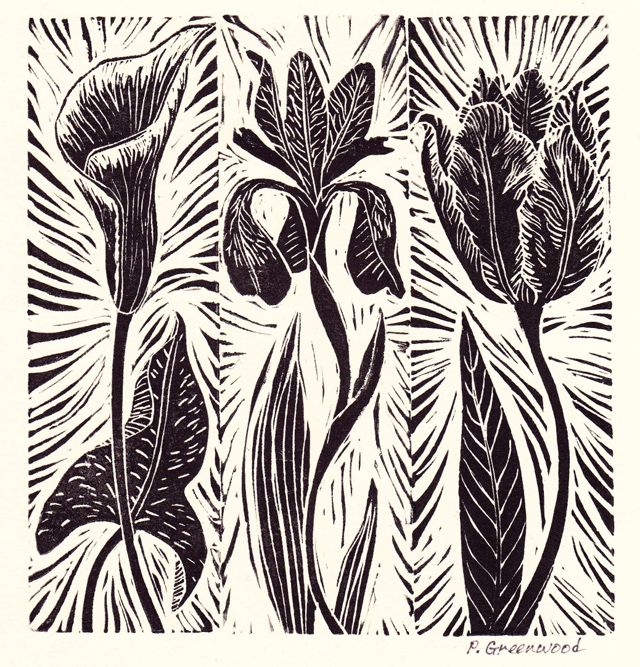
Use LINE to show: EMPHASIS, MOVEMENT, TEXTURE. Keep it easy: Zoom in for a larger image, use line weight and avoid thin black lines, embrace the blackness (black doesn't need to be carved and can be easily textured), Consider switching to white lines. Remove areas that aren't inked, but create texture, movement. Create volume in form with line direction and match the curve of the object Warm up Challenge: Watch how to draw on Styrofoam. Note the drawn lines stay the white of the paper because they aren't raised for inking
|
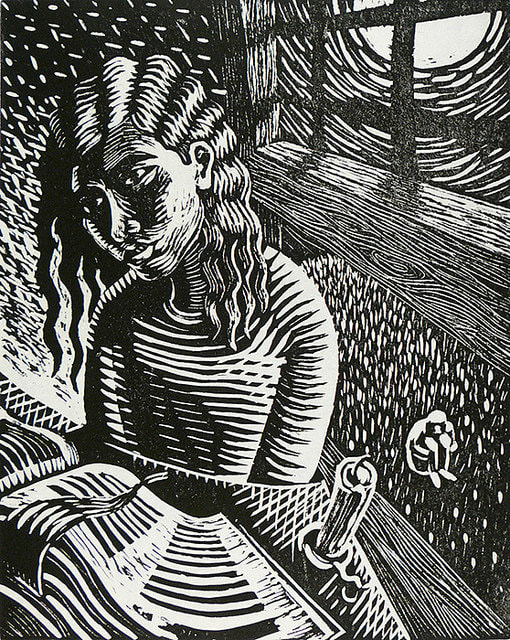
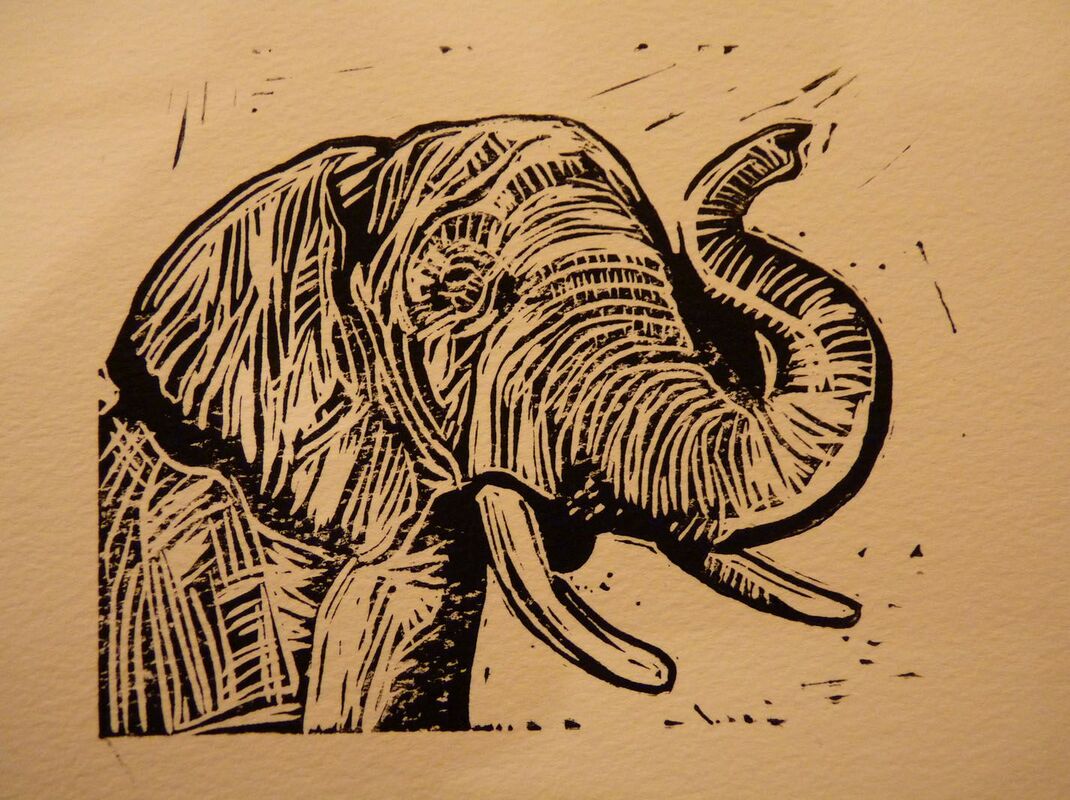
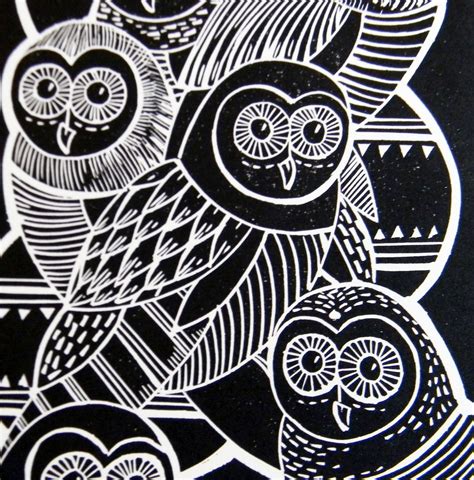
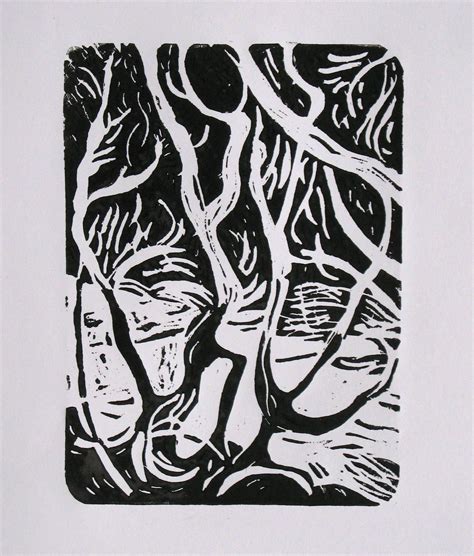
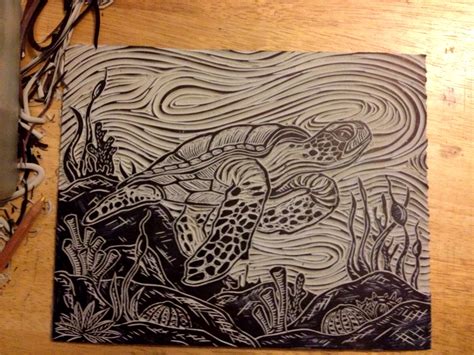
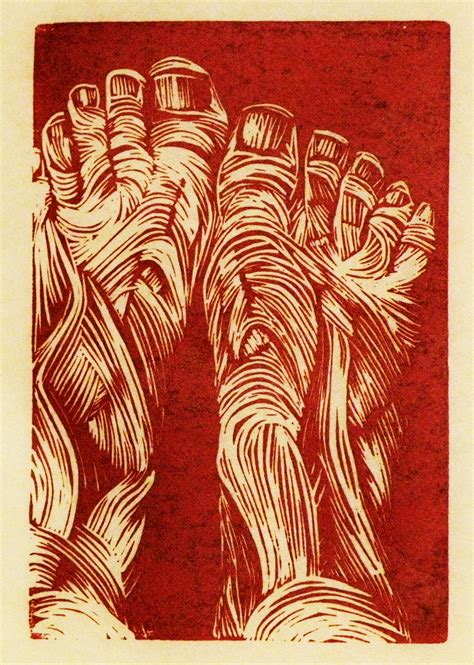
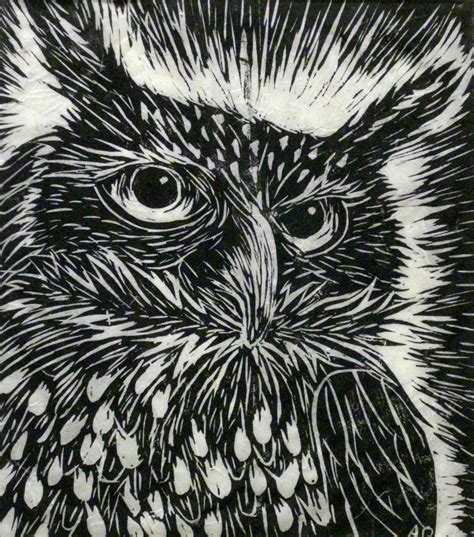
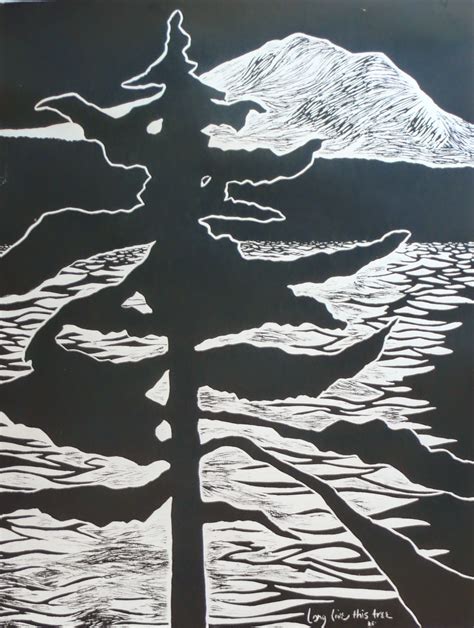
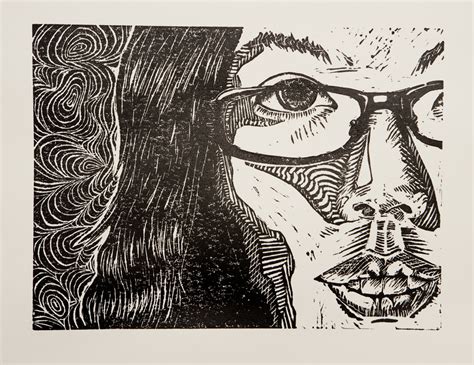
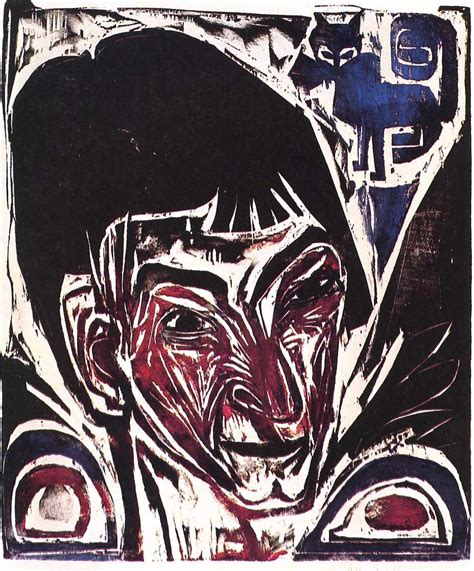
ADVANCED LINOCUT
Turn your photos into prints with Gaussian Blur and Threshold in Gimp
| ||
|
|
|